

I've gotten a number of emails from photographers asking me to share about how I take detail shots. I've put this off for awhile now because honestly, I don't feel like I have anything very unique to share. I'm not a master detail shooter -- there are so many photographers out there who do this well. And by the same token, I don't feel like there's a lot to it -- many of my strategies are the same as they are shooting any other subject matter. I actually think shooting details is easier than most everything else I do because they are inanimate, inherently gorgeous and there are so many to choose from -- making it easy to get the best shot. Shooting details is one of the most relaxing parts of the wedding day for me. And boy do I love it! It's so fun to document and make other people's artistic creations shine. Inspiring details inspire me.
So I'm going to share with you my approach to photographing details -- specifically reception details. You are guaranteed to find yourself saying "duh" at some point during this post, but the teacher in me likes to be thorough so I have to include the obvious and the basics!
For me, shooting details is all about three things: light, focal point and positioning.
1. Light
Just like photographing any other subject matter, we need good light. For this reason, I'm not afraid to ask the coordinator or catering manager if we can turn up the lights a bit just for photography purposes. Reception halls are dim for ambience and I don't want to mess with that. But there's usually a few minutes before the guests arrive where turning up the lights is not a problem.
In 99.9% of the situations I don't use flash. Cameras are so good these days at high ISOs that I opt to throw on my 50 1.2 or 24 1.4, open up my aperture and raise my ISO. As long as you have a good camera and properly expose you shouldn't have to deal with grain even at high ISOs.
Be aware of candles and windows that might be in your shot. Oftentimes, just like with anything else, the subject or focal point of the image is not the brightest part yet it is the most important thing to properly expose. If a candle or window is in your frame, overexpose by one stop. If there are a lot of white linens or printed material or a white cake, you will also need to overexpose according to your in-camera meter in order to get the exposure you want.
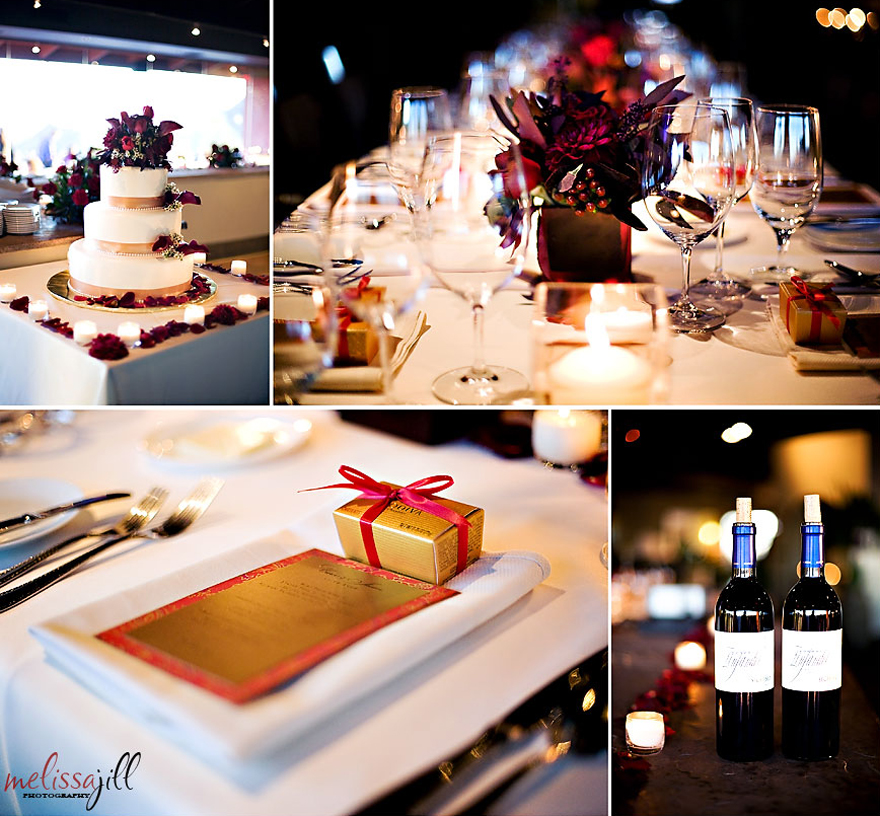
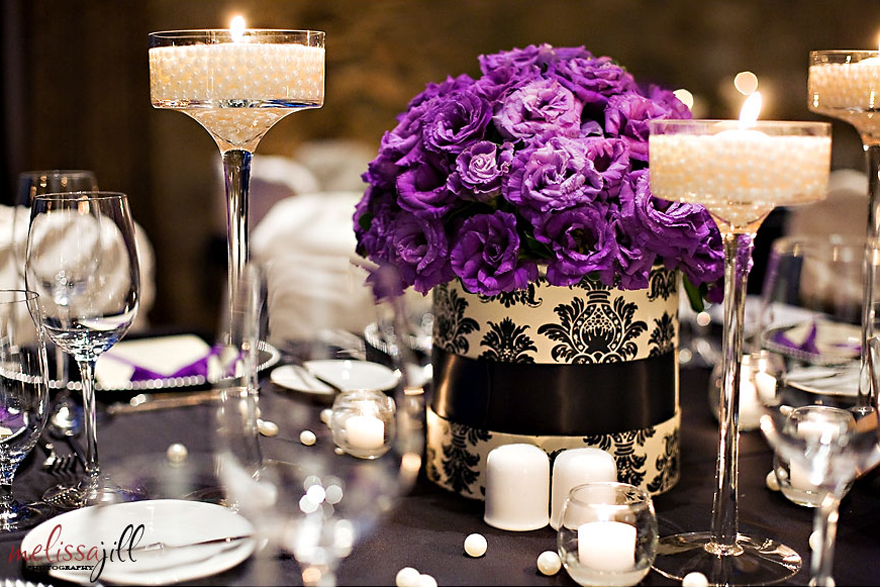
One of the great things about details is that there are often bazillions to choose from. Look for the ones with the best light. If one table is close to a window with directional lighting, choose it. If one centerpiece has spot lighting from the ceiling, choose it. Here's a good example of choosing the right centerpiece to feature. It was the best-lit one of the bunch:
If you have good window light you can also choose to position yourself so that you are shooting into the window to get a good backlighting effect. Just remember to overexpose!
2. Focal Point
Picking your focal point carefully is key when shooting details. You get to control where the viewer's eye lands. You get to choose what to showcase. Sometimes the best focal point is the detail closest to the camera, but more often than not, it isn't. I like to position myself in such a way that the image includes out of focus elements in both the foreground and background of the image. This creates interest and a three dimensional feel. If you're shooting a line of plates, for instance, focus on the second one instead of the first.
Picking your focal point carefully is key when shooting details. You get to control where the viewer's eye lands. You get to choose what to showcase. Sometimes the best focal point is the detail closest to the camera, but more often than not, it isn't. I like to position myself in such a way that the image includes out of focus elements in both the foreground and background of the image. This creates interest and a three dimensional feel. If you're shooting a line of plates, for instance, focus on the second one instead of the first.
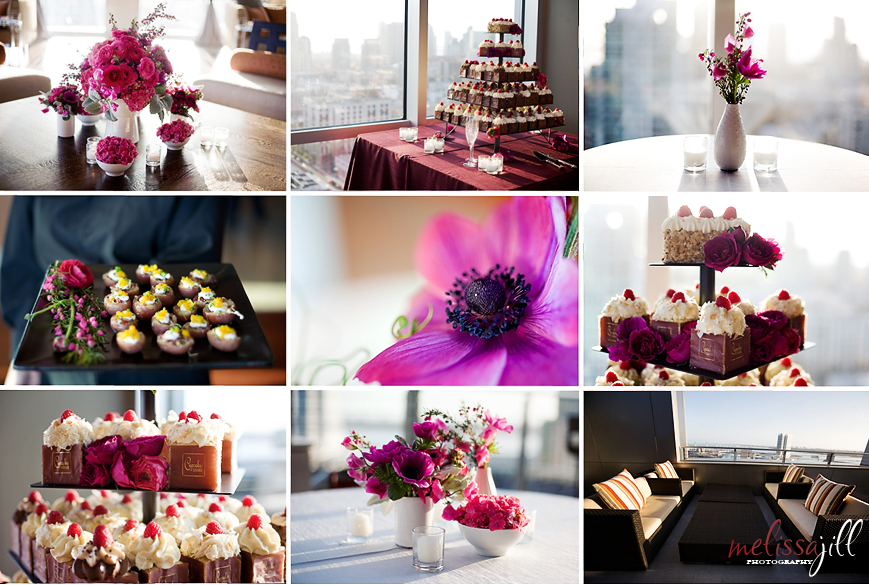
Same thing applies to yummy desserts:
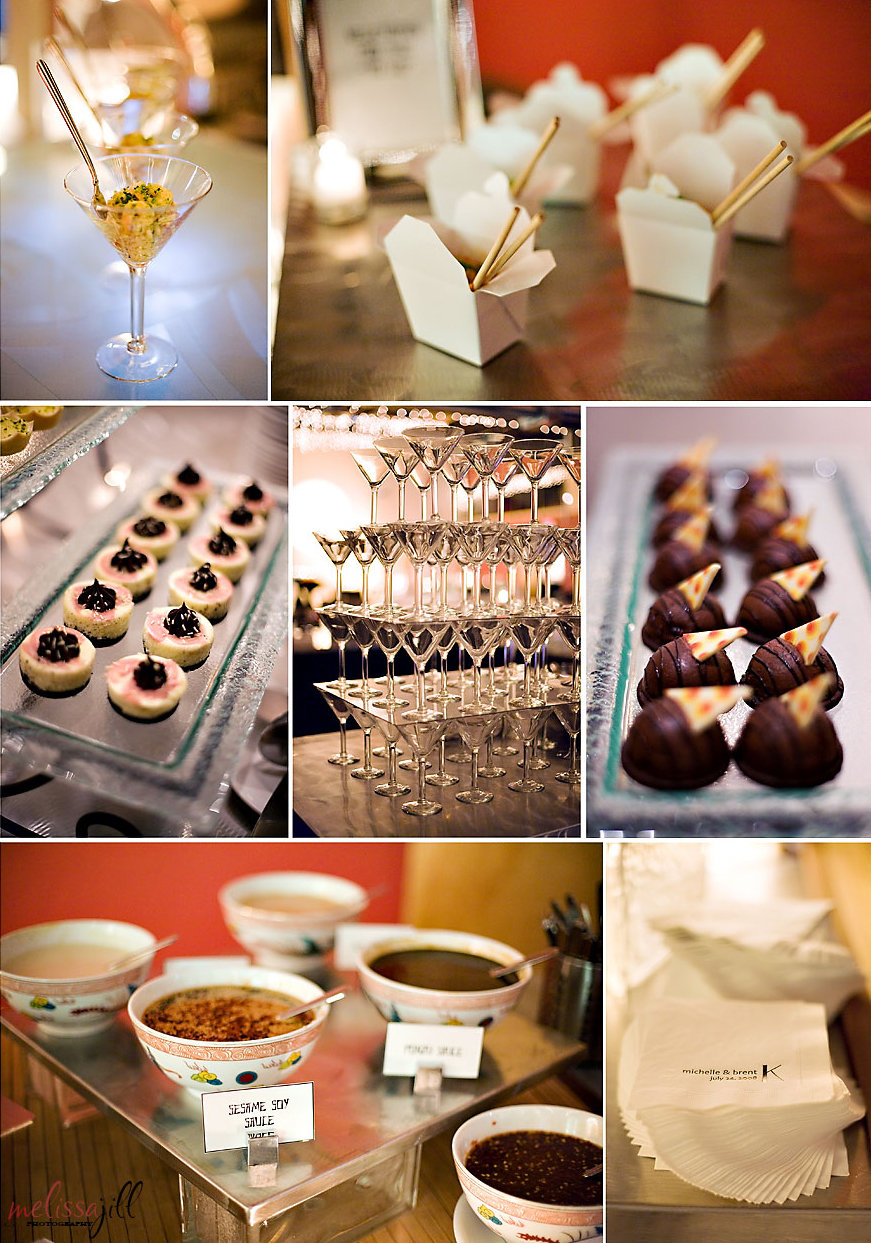
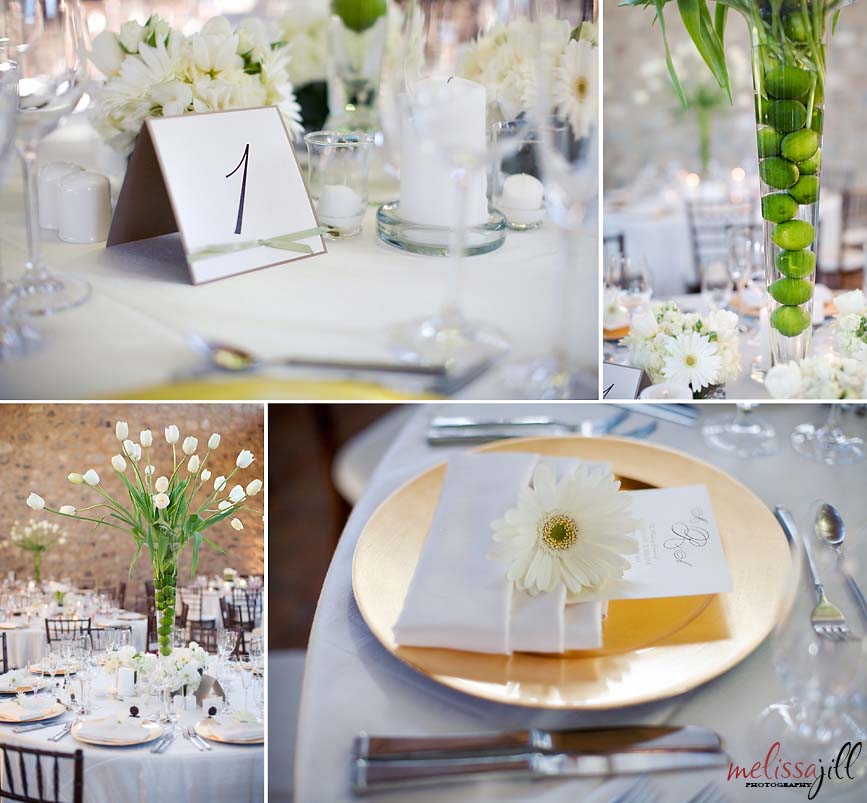
Don't worry at all about making sure everything is in focus. I shoot all my details between f1.2 - f2.0. As long as your focal point is sharp, you're good. Notice that the focal point in the lower left image is the corner of the table; none of the elements ON the table are actually sharp. But the image still looks good:
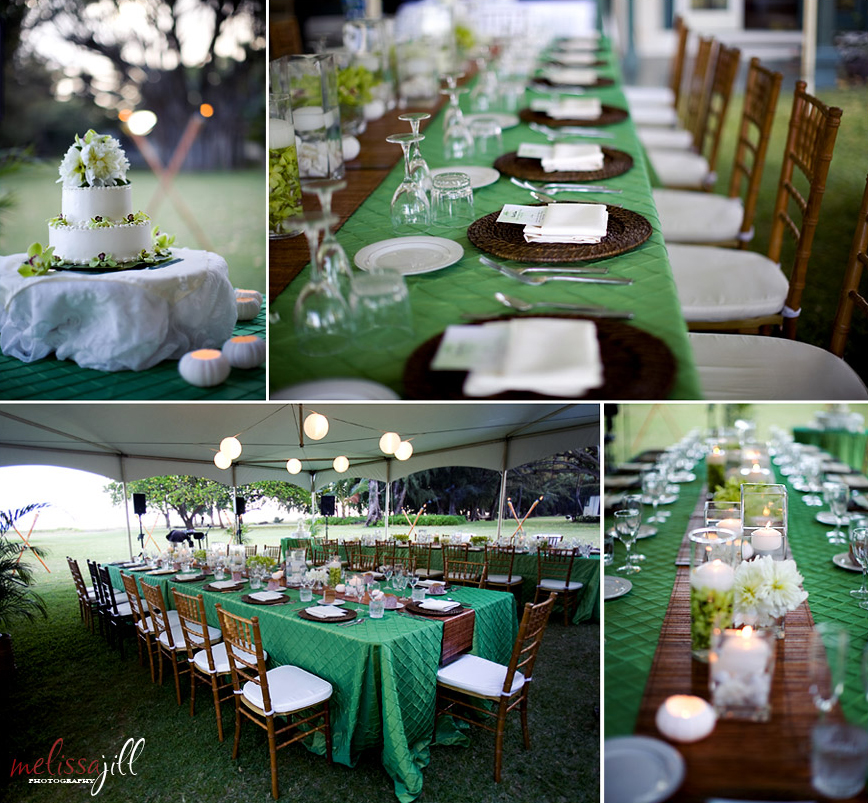
Same thing with the image on the bottom left here -- only the chair closest to the camera is actually in focus:
Obviously if you have words or large graphic symbols like those found on table markers, you will want to choose those as focal points otherwise they will just be distracting elements in the background of your image.
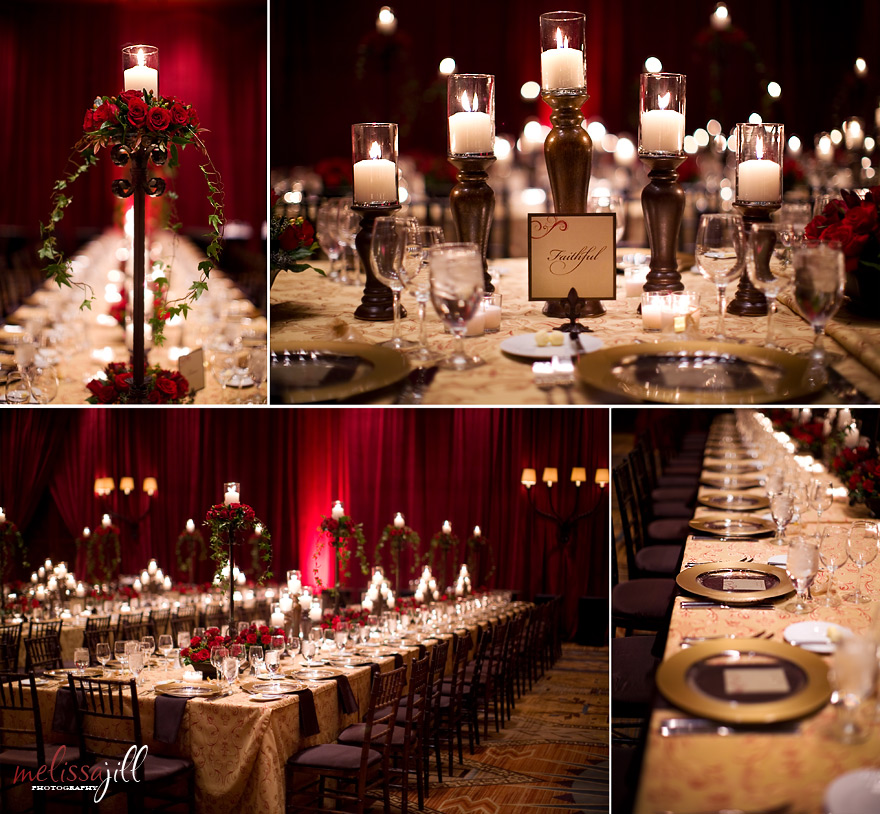
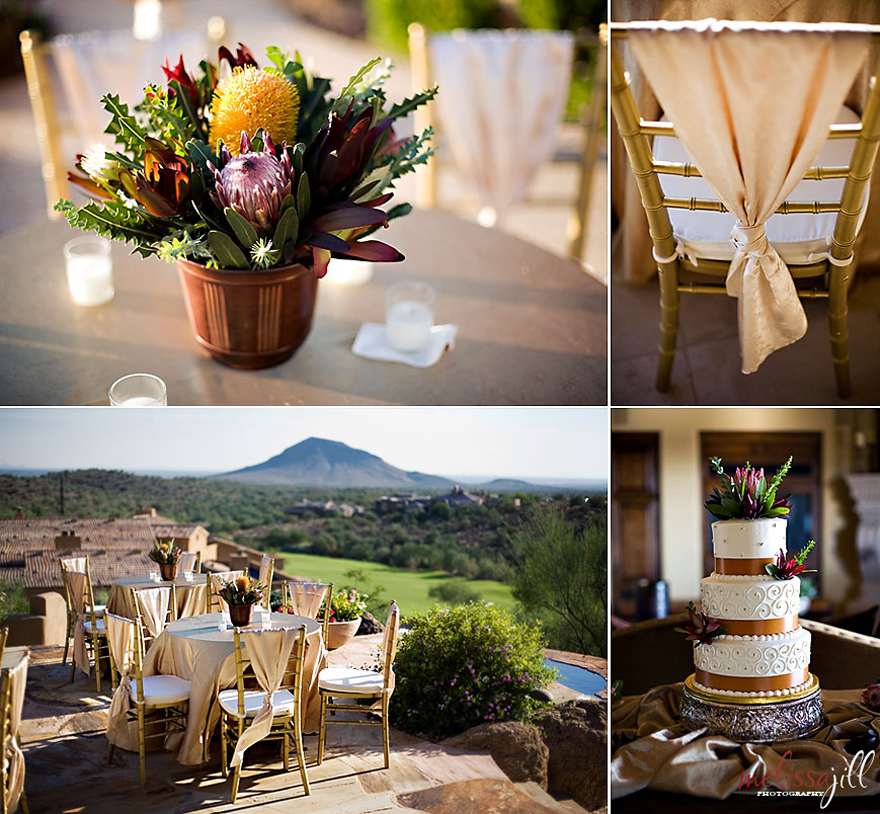
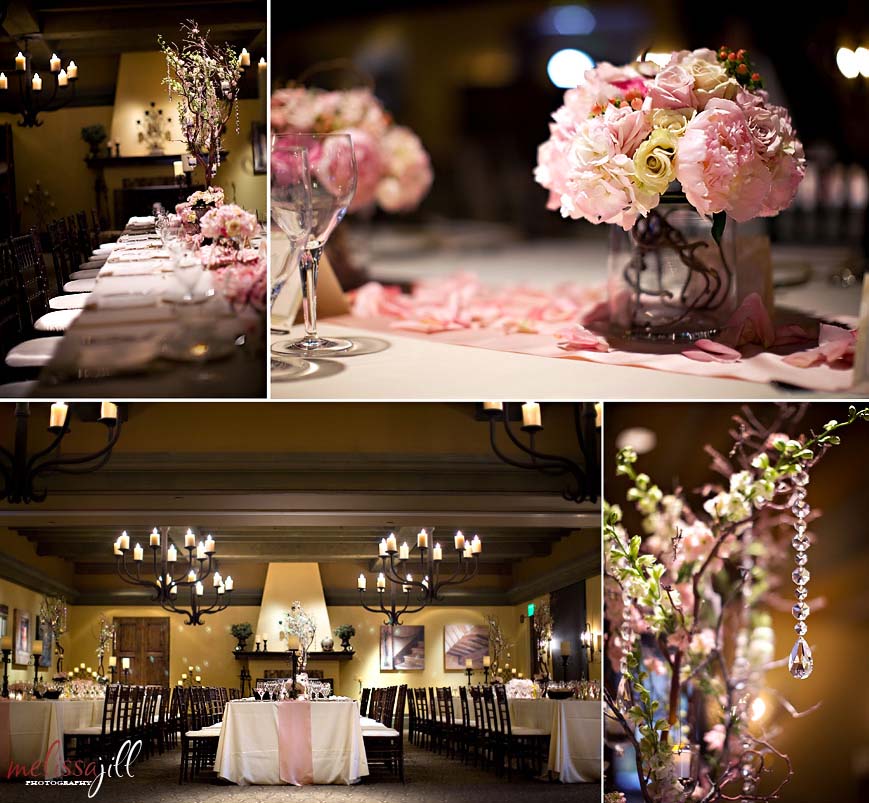
In an image like this where there is a lot going on and I am using a very shallow depth of field, choosing a focal point can be tricky. You might think it would be good to focus on the flowers, but which flower do you focus on out of the bunch? I opted to focus on the base of the centerpiece because it employs a bold graphic element. Your eye naturally wants to go there. So some of the flowers are actually out of focus, but others along the same plane as the base are sharp.
Sometimes details you want in focus are very small. And from the distance you need to stand in order to get the composition you want, the focal point box in your viewfinder is larger than the detail you want to focus on. If the box overlaps with something else in the shot at another distance from what you want in focus, it will sometimes lock onto the wrong thing. In this instance, try picking a larger surface to focus on that is equidistant from your camera. Take the centerpiece in the top left for example. If I would have tried to focus on the top of the centerpiece, I could have easily accidentally locked onto the back wall. Instead I focused on the base of the centerpiece and by getting it sharp, part of the top is also sharp.
3. Positioning
Once again, just like with light and focal point, shooting details offers us a plethora of options as far as where we choose to position ourselves. Just like when you're shooting any other subject matter, make sure to keep an eye out for backgrounds that might be distracting and reposition yourself in order to eliminate them.
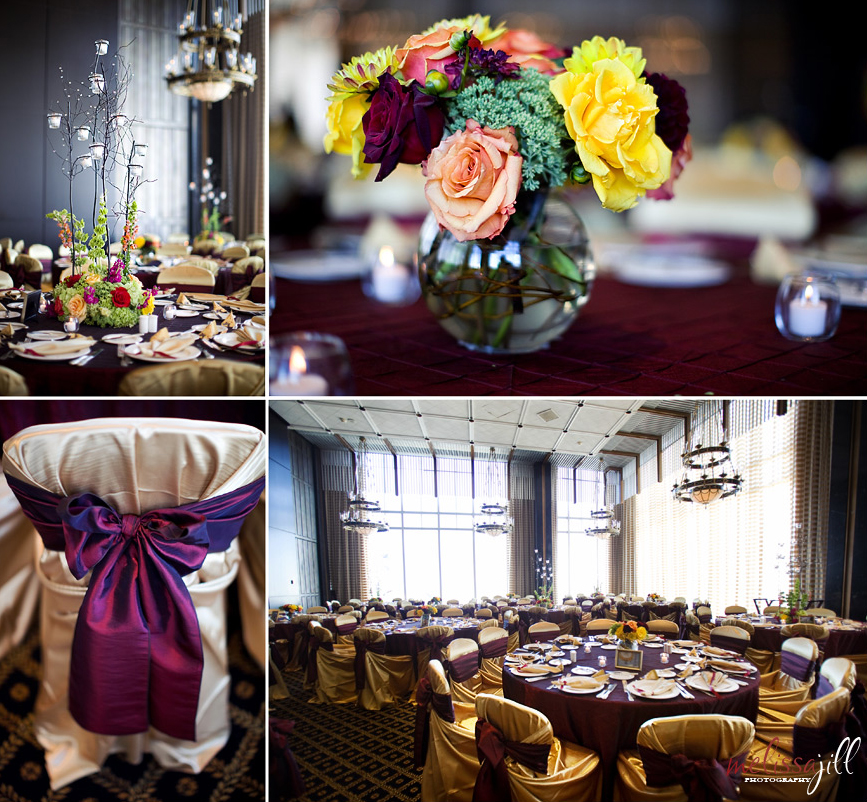
When shooting table tops, I often squat down to just above table level. Being on level with the subject matter showcases it better and also often introduces elements into the foreground of the shot, making it more interesting. For instance, when doing a table shot, putting a chair in the foreground of the image provides context and adds interest.
Once again, just like with light and focal point, shooting details offers us a plethora of options as far as where we choose to position ourselves. Just like when you're shooting any other subject matter, make sure to keep an eye out for backgrounds that might be distracting and reposition yourself in order to eliminate them.
When shooting table tops, I often squat down to just above table level. Being on level with the subject matter showcases it better and also often introduces elements into the foreground of the shot, making it more interesting. For instance, when doing a table shot, putting a chair in the foreground of the image provides context and adds interest.
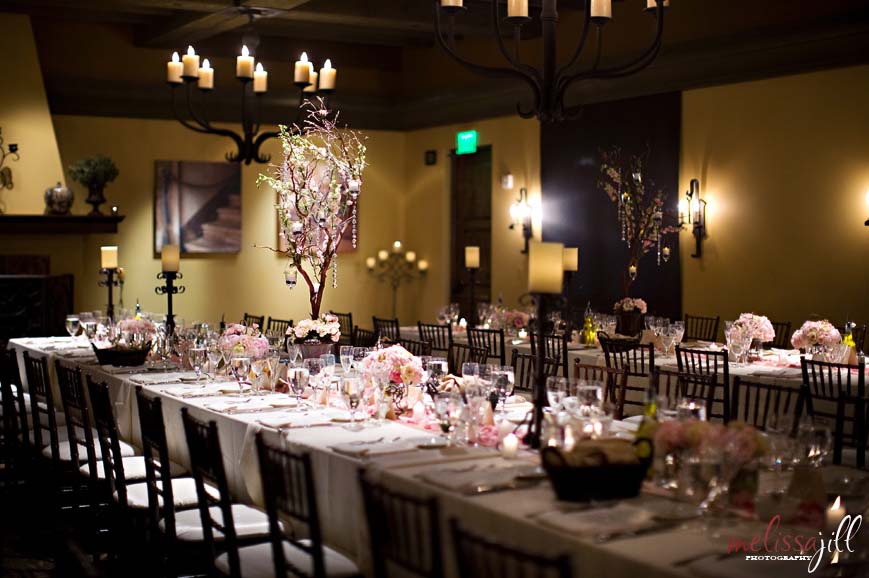
When shooting a full room shot like the one in the bottom left of this collage, I will squat all the way down to get the perspective I find most interesting.
Besides paying attention to your light, focal point and positioning, I would recommend taking a lot of frames with different angels and focal points. Sometimes you don't know what you want in focus or your eye doesn't see the impact of distracting background elements until it sees the image on the computer screen. If you have more options to choose from you will be a happier camper.

I post-process detail shots similarly to all of my images -- I fix the color balance, adjust midtones (brightness slider), darken and lighten certain areas of the image to further direct viewer focus (using Kevin Kubota's smokeless burn & digital fill flash actions or my tools in the Camera RAW interface). Just like everything else, I try to get the image as close to perfect in camera and don't do a lot of retouching work in post-processing. If you want to know more specifics about my post-processing, check out the "behind the image" category on my blog for additional info.

Phew. I think that covers everything I have to say on the subject. Definitely let me know if you have any other questions in the comments. If you found this tip helpful, click here to find out about other resources I offer photographers! And click here to find out about my blog collage templates. I used them to combine details in this post into pretty combos and they are available for purchase if you want to make your blogging easier and faster!
Comments


